Go to Settings → Templates → Reports → Financial, then click + New Template (Equity Movement Report).
Alternatively, go to Reports → Equity Movement, click the template selector at the top right, and choose + New Template.
The Equity Movement Report template has three tabs:
General: edit template name, baseline period, header, sorting, and footer.
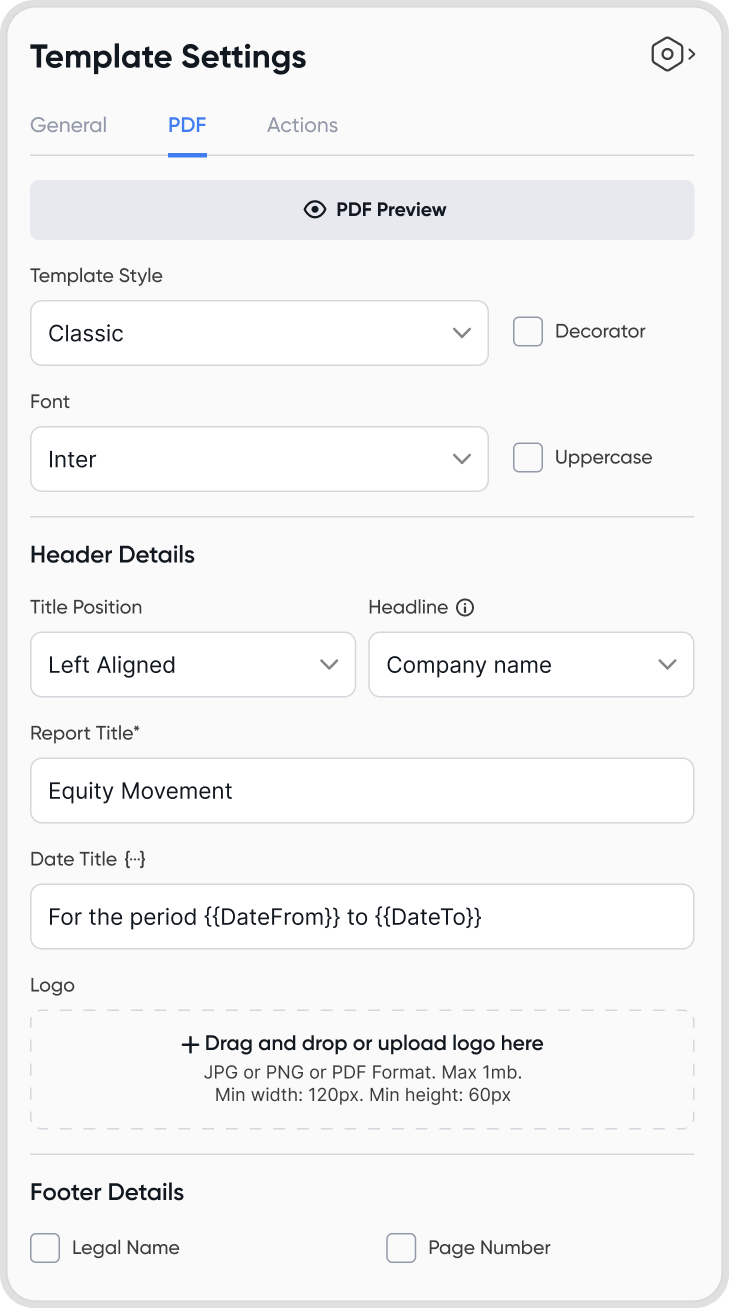
PDF: customize layout, header, and footer for the PDF version of the report.
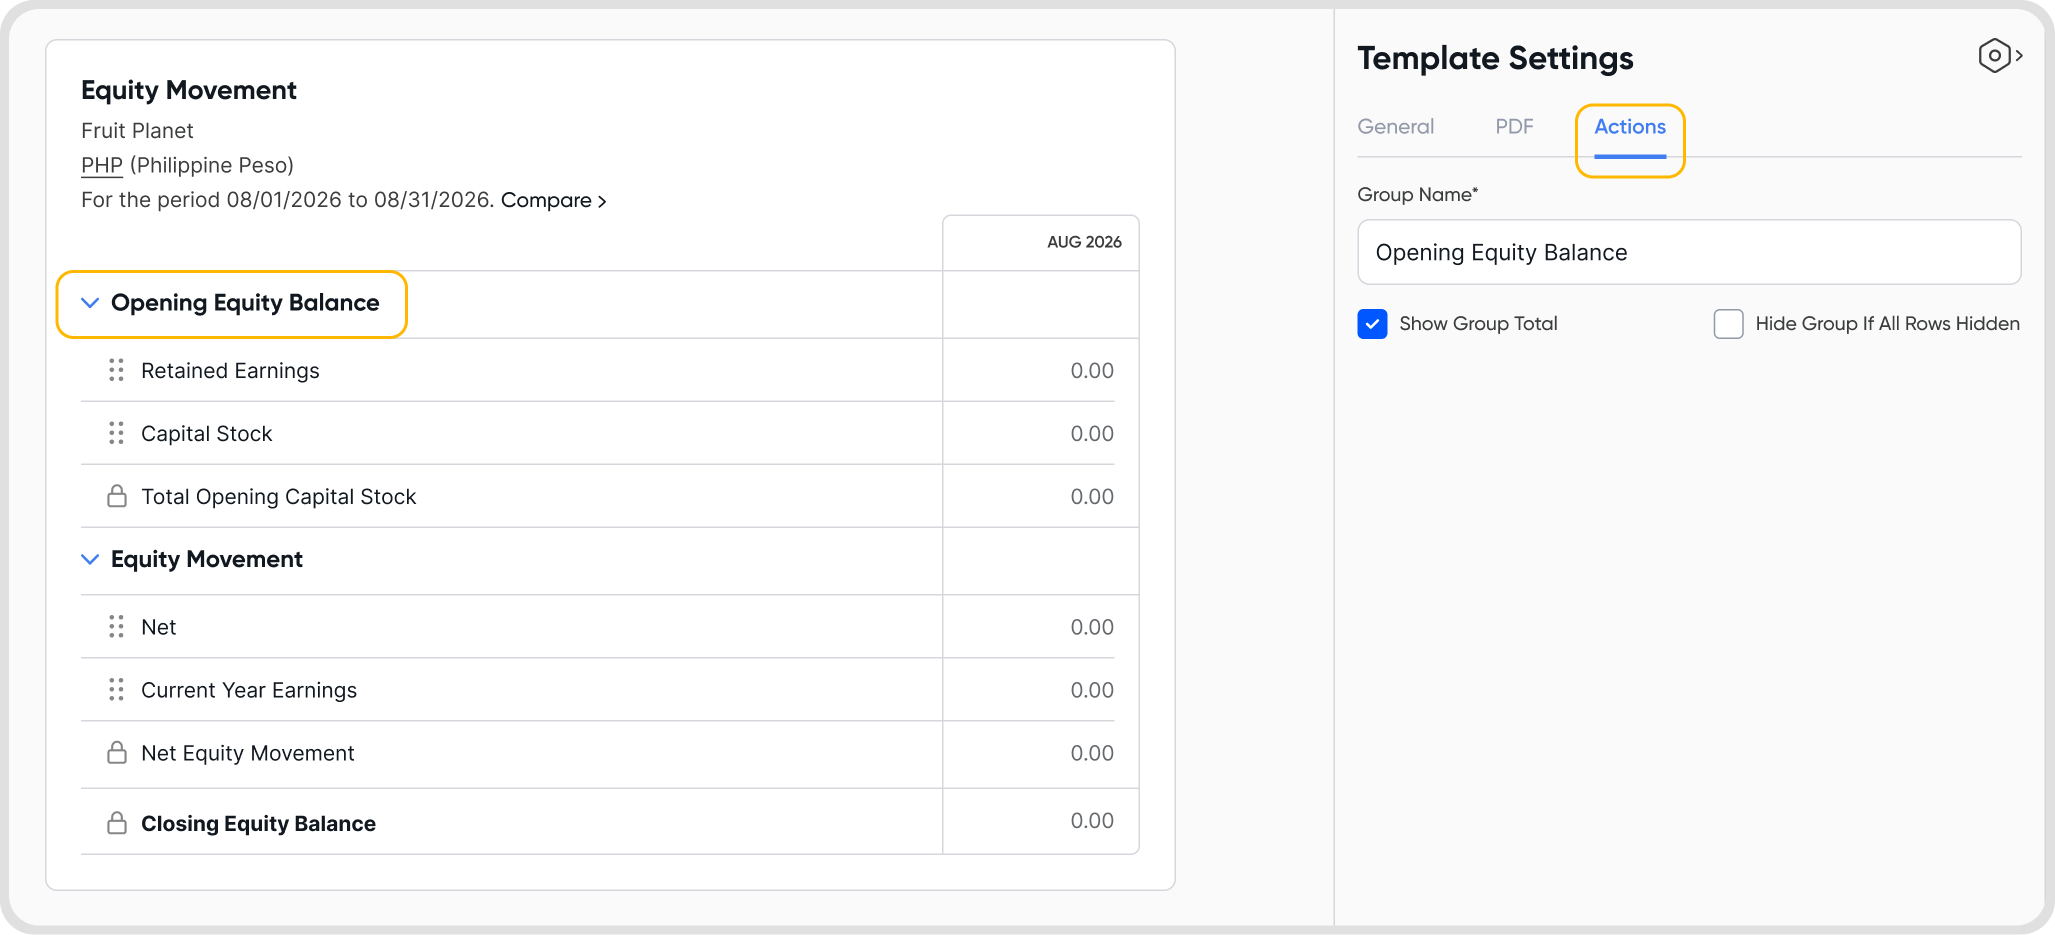
Actions: configure settings for a selected row or column.
Note: PDF preview and export are only supported for up to 8 columns.
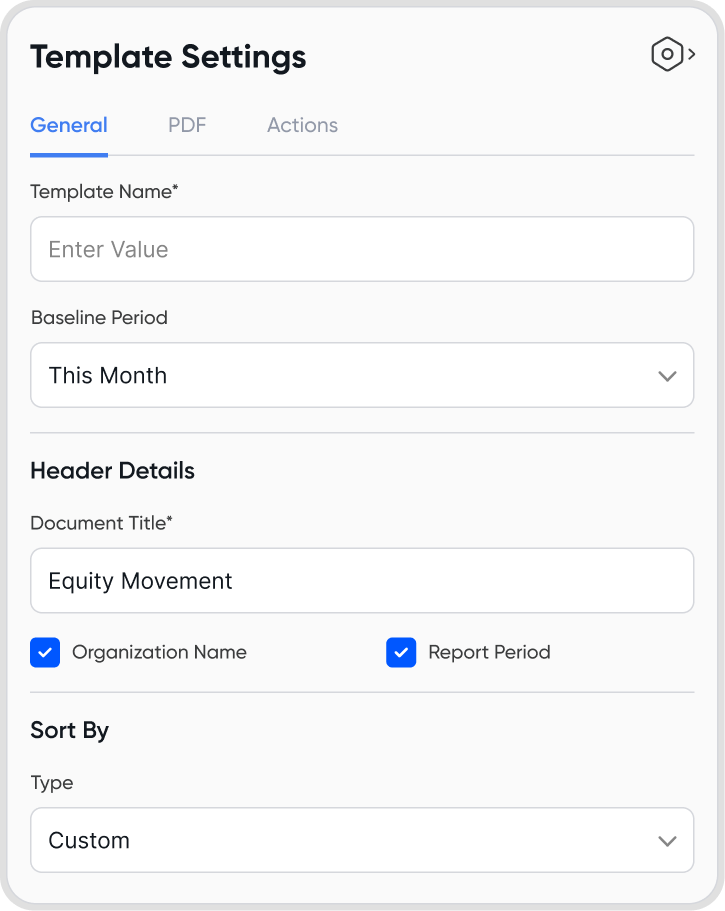
The baseline period controls how report dates are set relative to the date the report is run. The available options are:
This Month.
Financial Quarter.
Financial Year.
Last Month.
Last Financial Quarter.
Last Financial Year.
Comparative Periods: choose a date range, comparison type (day, month, quarter, or year), and display order.
Variance: shows the change between two columns as an amount or percentage. Requires at least two period columns. Multiple variance columns are allowed.
Year-to-Date: shows cumulative amounts from the start of the calendar or financial year to the current period. You can configure the period type and range:
Through Today: year-to-date from the start of the year through today's actual date. Shows performance as at the current date.
Through Period End: year-to-date from the start of the year through the end of the selected period. Used for formal reports and period comparisons.
By default, only the baseline period column is shown. To add columns:
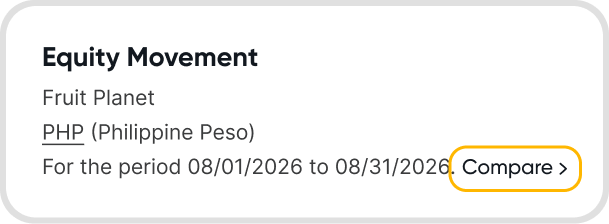
Add a comparison period: click Compare to add additional period columns.
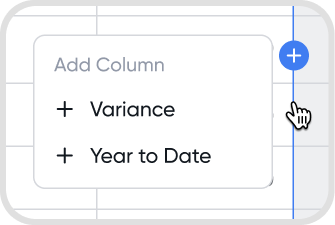
Add a Year-to-Date column: hover over a column line to add one.
Add a Variance column: hover over a column line and add Variance once at least two comparison periods are available.
Delete a column: click the column, then under Actions, select Delete Column.
The Equity Movement Report template contains rows for the equity accounts affecting the movement, such as opening balances, capital contributions, net income for the period, dividends or distributions, and closing balances.
Group Rows: represent each major equity category. You can only edit the group name.
Text Rows (Child Rows): custom text rows you can insert within a group. These can be added at both the group and child levels.
Available actions depend on whether a row or column is selected.
Row selected: you can rename user-defined text rows and group titles.
Comparative Period column selected: configure the number of comparative months.
Variance column selected: set whether to display as a percentage or amount, and choose which period columns to compare.
Year-to-Date column selected: choose the period type (calendar or financial year) and set the period range (Through Today or Through Period End).
Add a text row: hover over a row and select + Text Row. Text rows can be added at both the group and child levels.
Note: It is not possible to add group rows in the Equity Movement Report template.
Yes. Open the template and make your changes directly. There are no restrictions on editing.
Updates apply immediately. Reports run after saving will reflect the changes.
Yes. Go to Settings → Templates → Reports, hover over the template, click the 3-dot icon, and select Duplicate.
Yes. Go to Settings → Templates → Reports, hover over the template, and click Set as Default.
Yes. Hover over the template, click the 3-dot icon, and select Delete.
Note: If the template is set as the default, you must assign another template as the default before it can be deleted.
Enabling decorators adds a horizontal line at the top of the report.
Enabling uppercase converts all text in the report to uppercase.
Yes. Go to Template Settings → Reports → Add a Logo.
The logo file must be no larger than 1 MB, with a minimum width of 120px and minimum height of 60px.
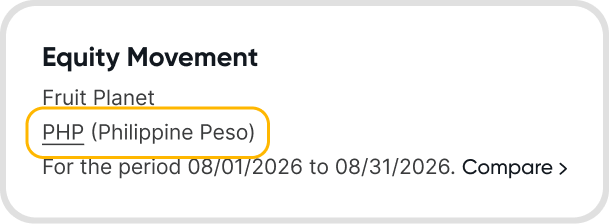
Yes. Click the base currency to change the display currency.
The report converts all values from base currency to the selected display currency using the exchange rate on the report date. If multiple periods are shown, the same exchange rate applies to all periods.
The dynamic string lets you configure the date title format in PDF exports using placeholders.
Example: "For the period of {{DateFrom}} to {{DateTo}}" will display as "For the period of 01/01/2026 to 03/31/2026" when the report is generated.
Changes apply immediately.
For previously downloaded reports, redownload them to reflect the latest template updates.