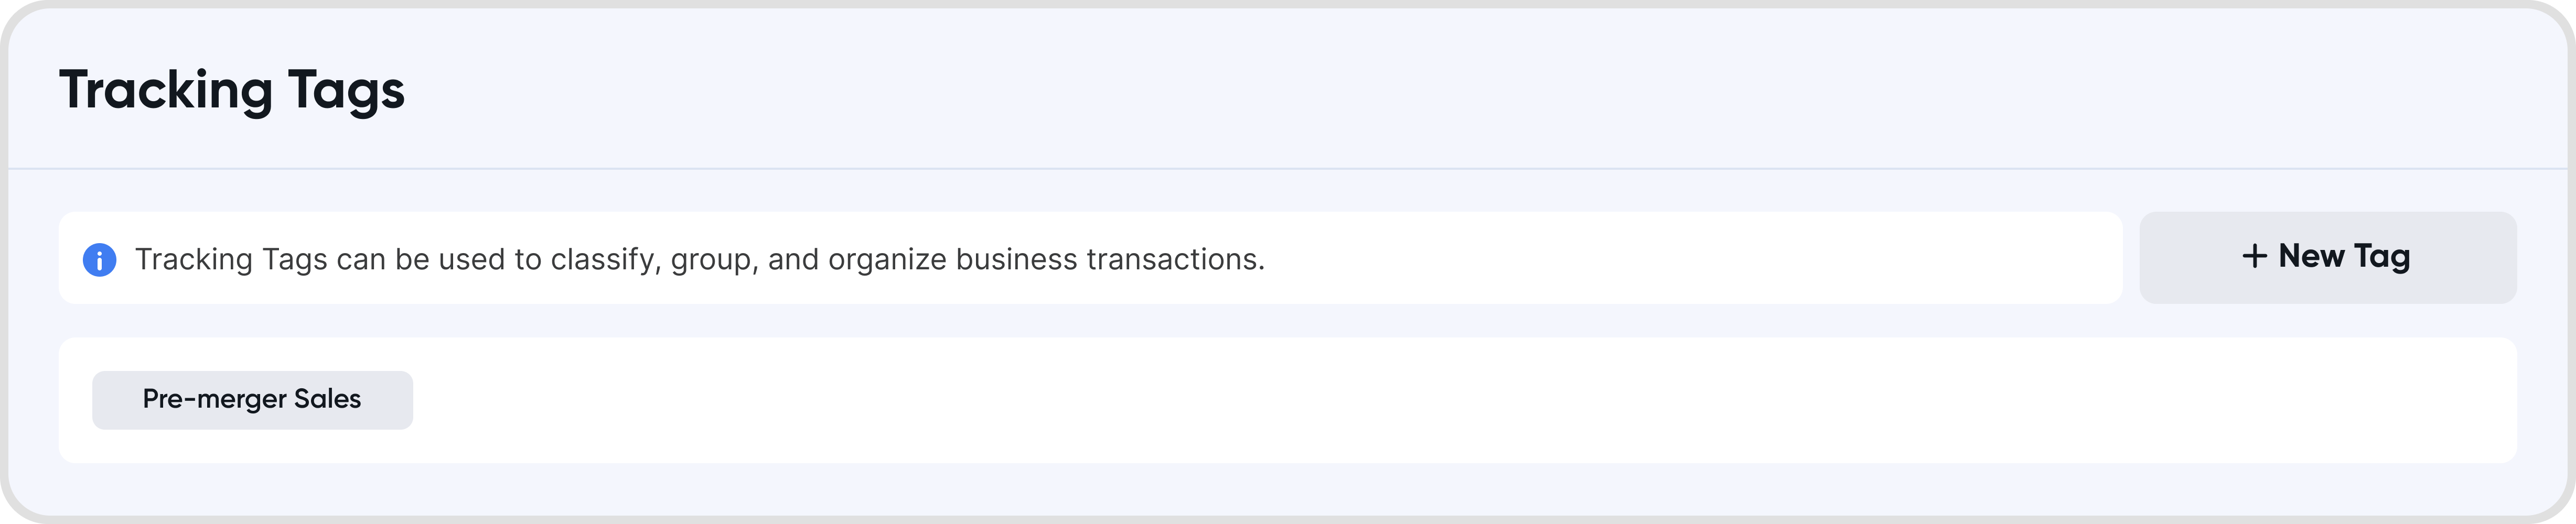
Click on + New Tag to add new tracking tags.
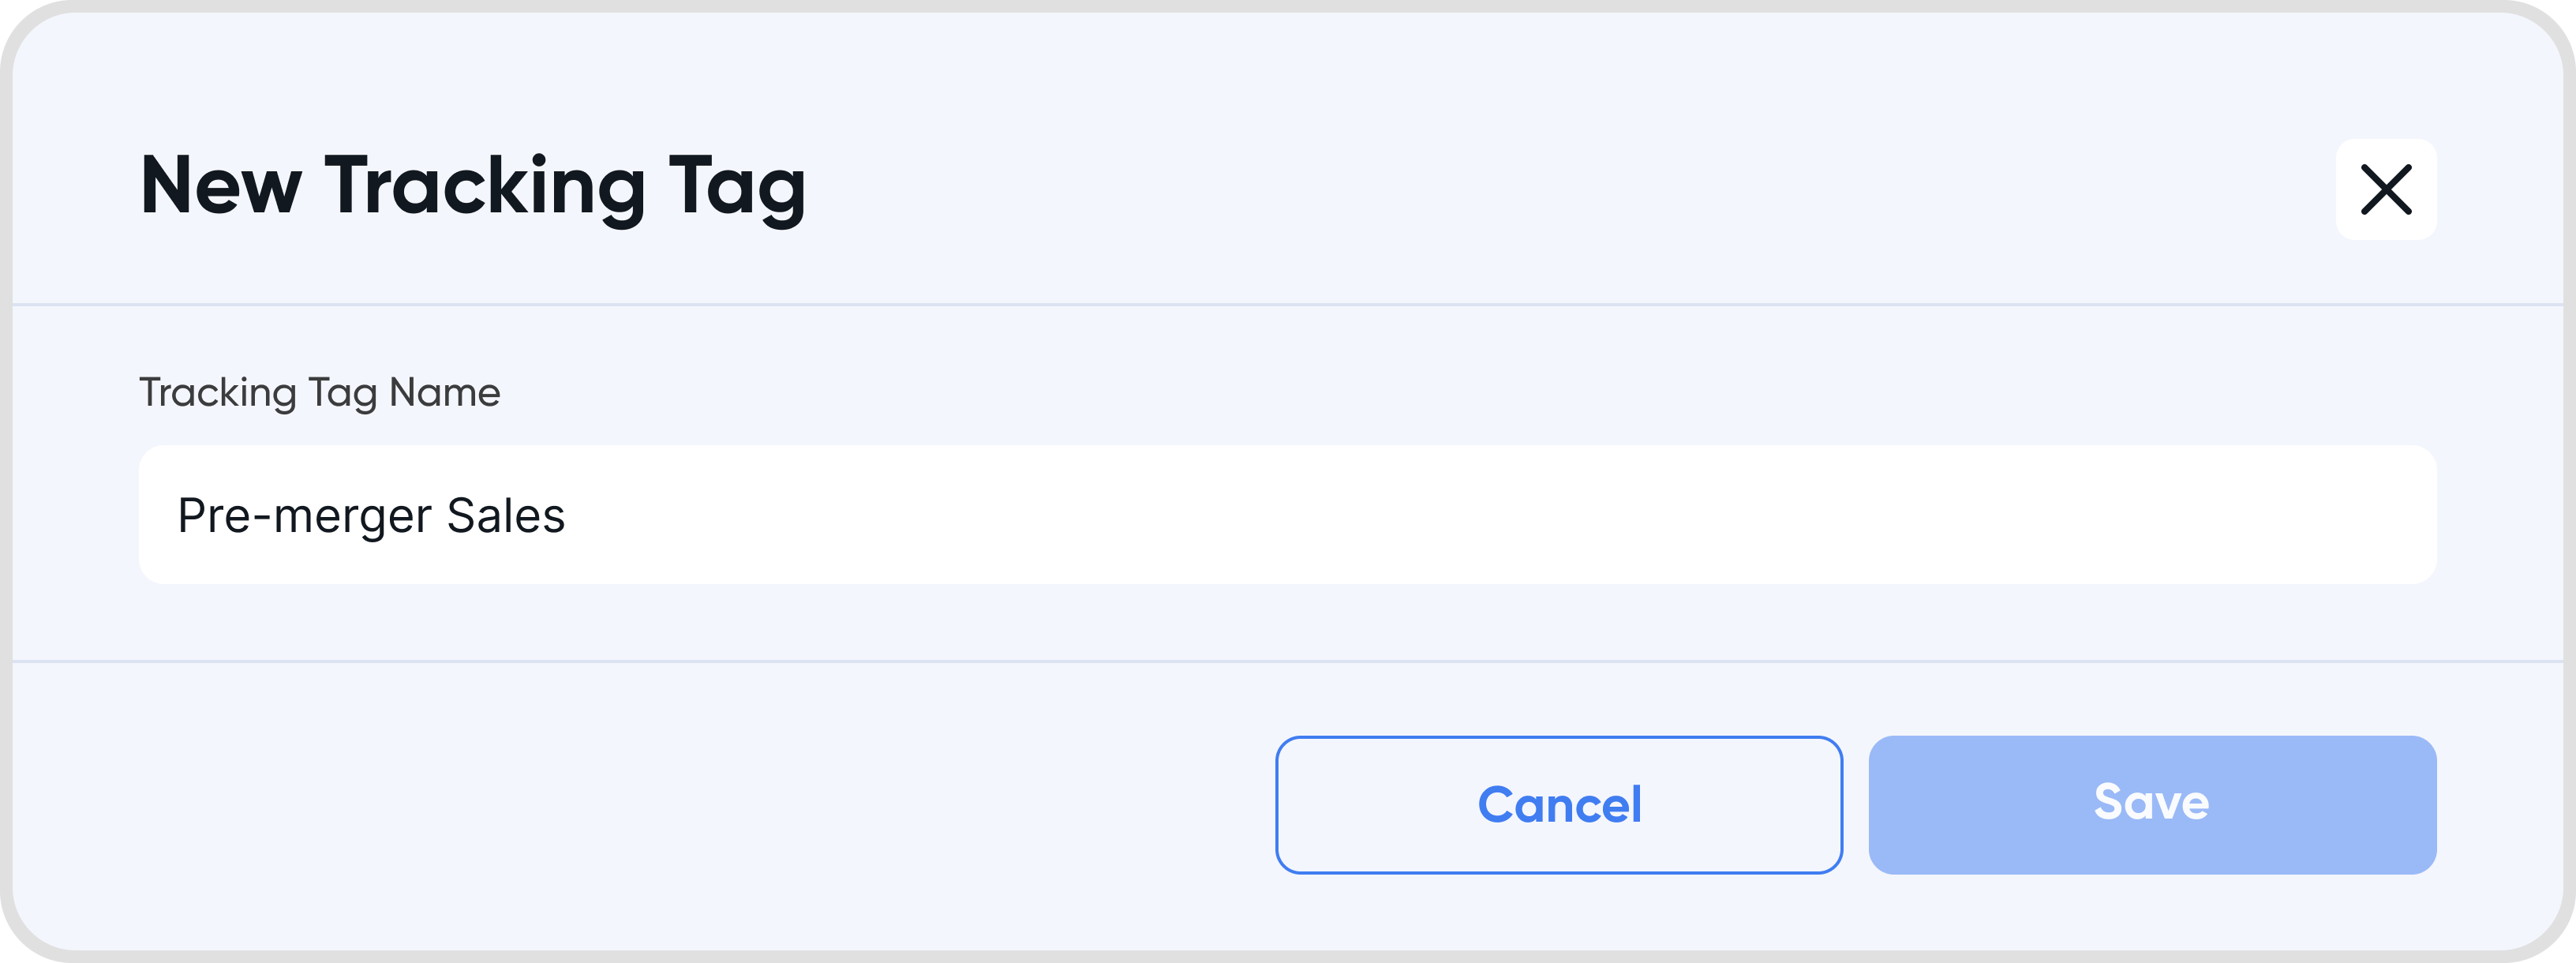
Fill in the name for the new tracking tag.
The newly created tracking tag will show up in the list of tracking tags.
Go to Settings > Configurations > Tracking Tags
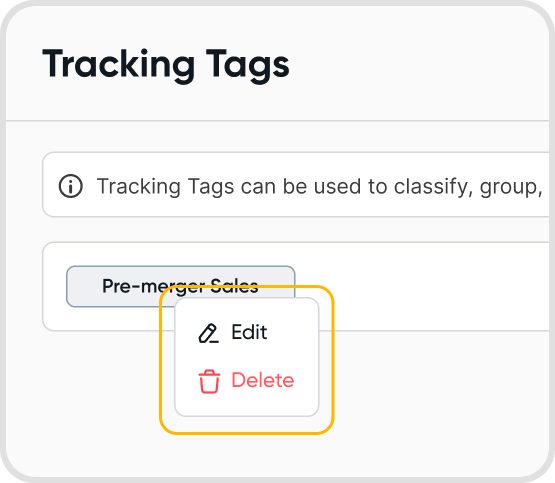
Click on the tracking tag that you would like to modify, and choose Edit.
Modify the name accordingly.

Go to Settings > Configurations > Tracking tags
Click on the tracking tag that you would like to modify, and choose Delete.
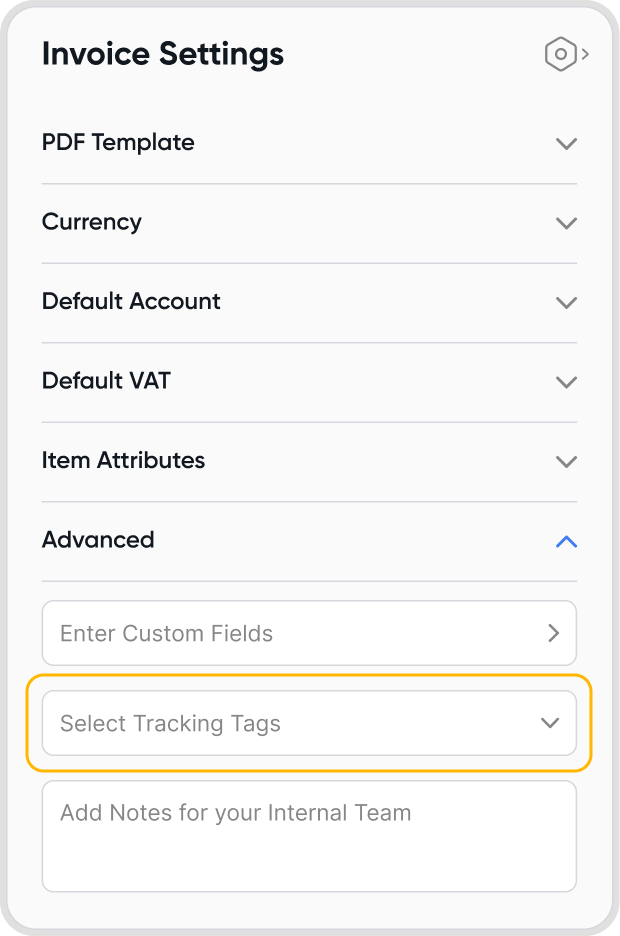
After creating tracking tags, you can find them under Advanced under the transaction settings when creating a new transaction.
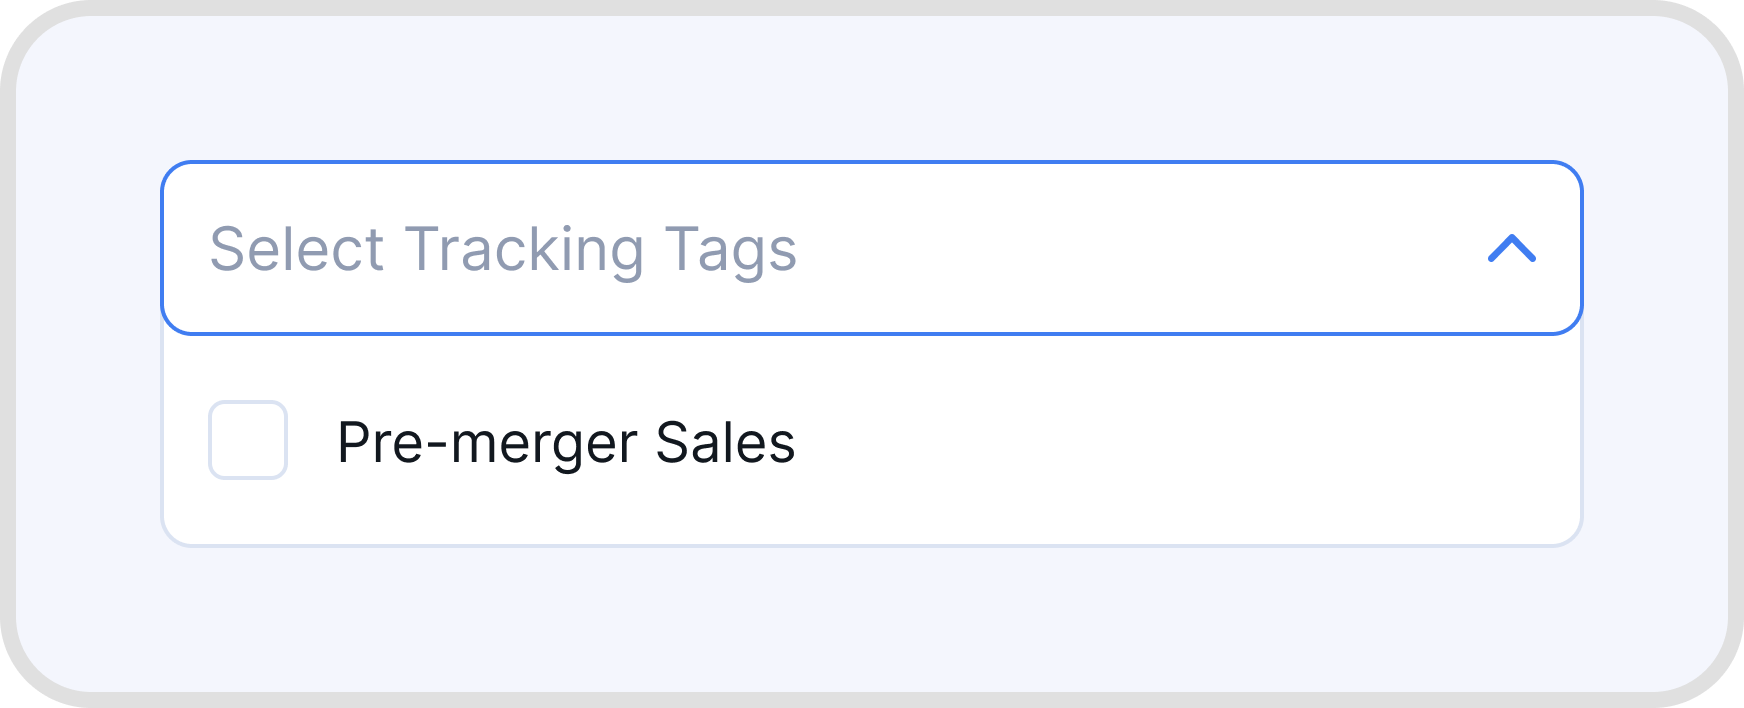
Click on Select Tracking Tags to see the list of tracking tags created in the organization, and select the tracking tags you want to apply. You can use multiple tracking tags in a single business transaction.
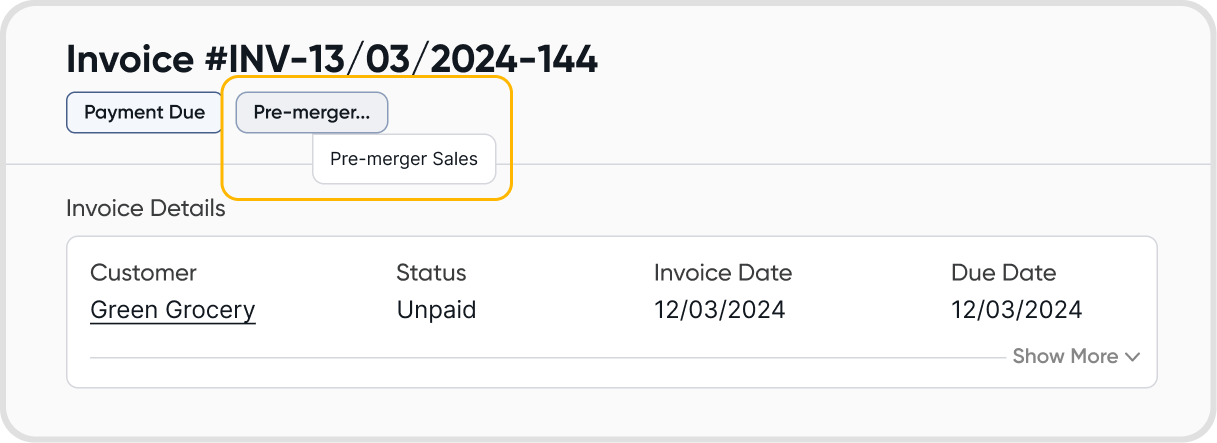
The tracking tag(s) selected will then show up on the transaction details.
It will not change the records data, but it will affect the data displayed when you're using the tag filters.
The remaining records that have been tagged will still have the tag attached to the records. However, the deleted tracking tag will not appear in record creation after it's been deleted.
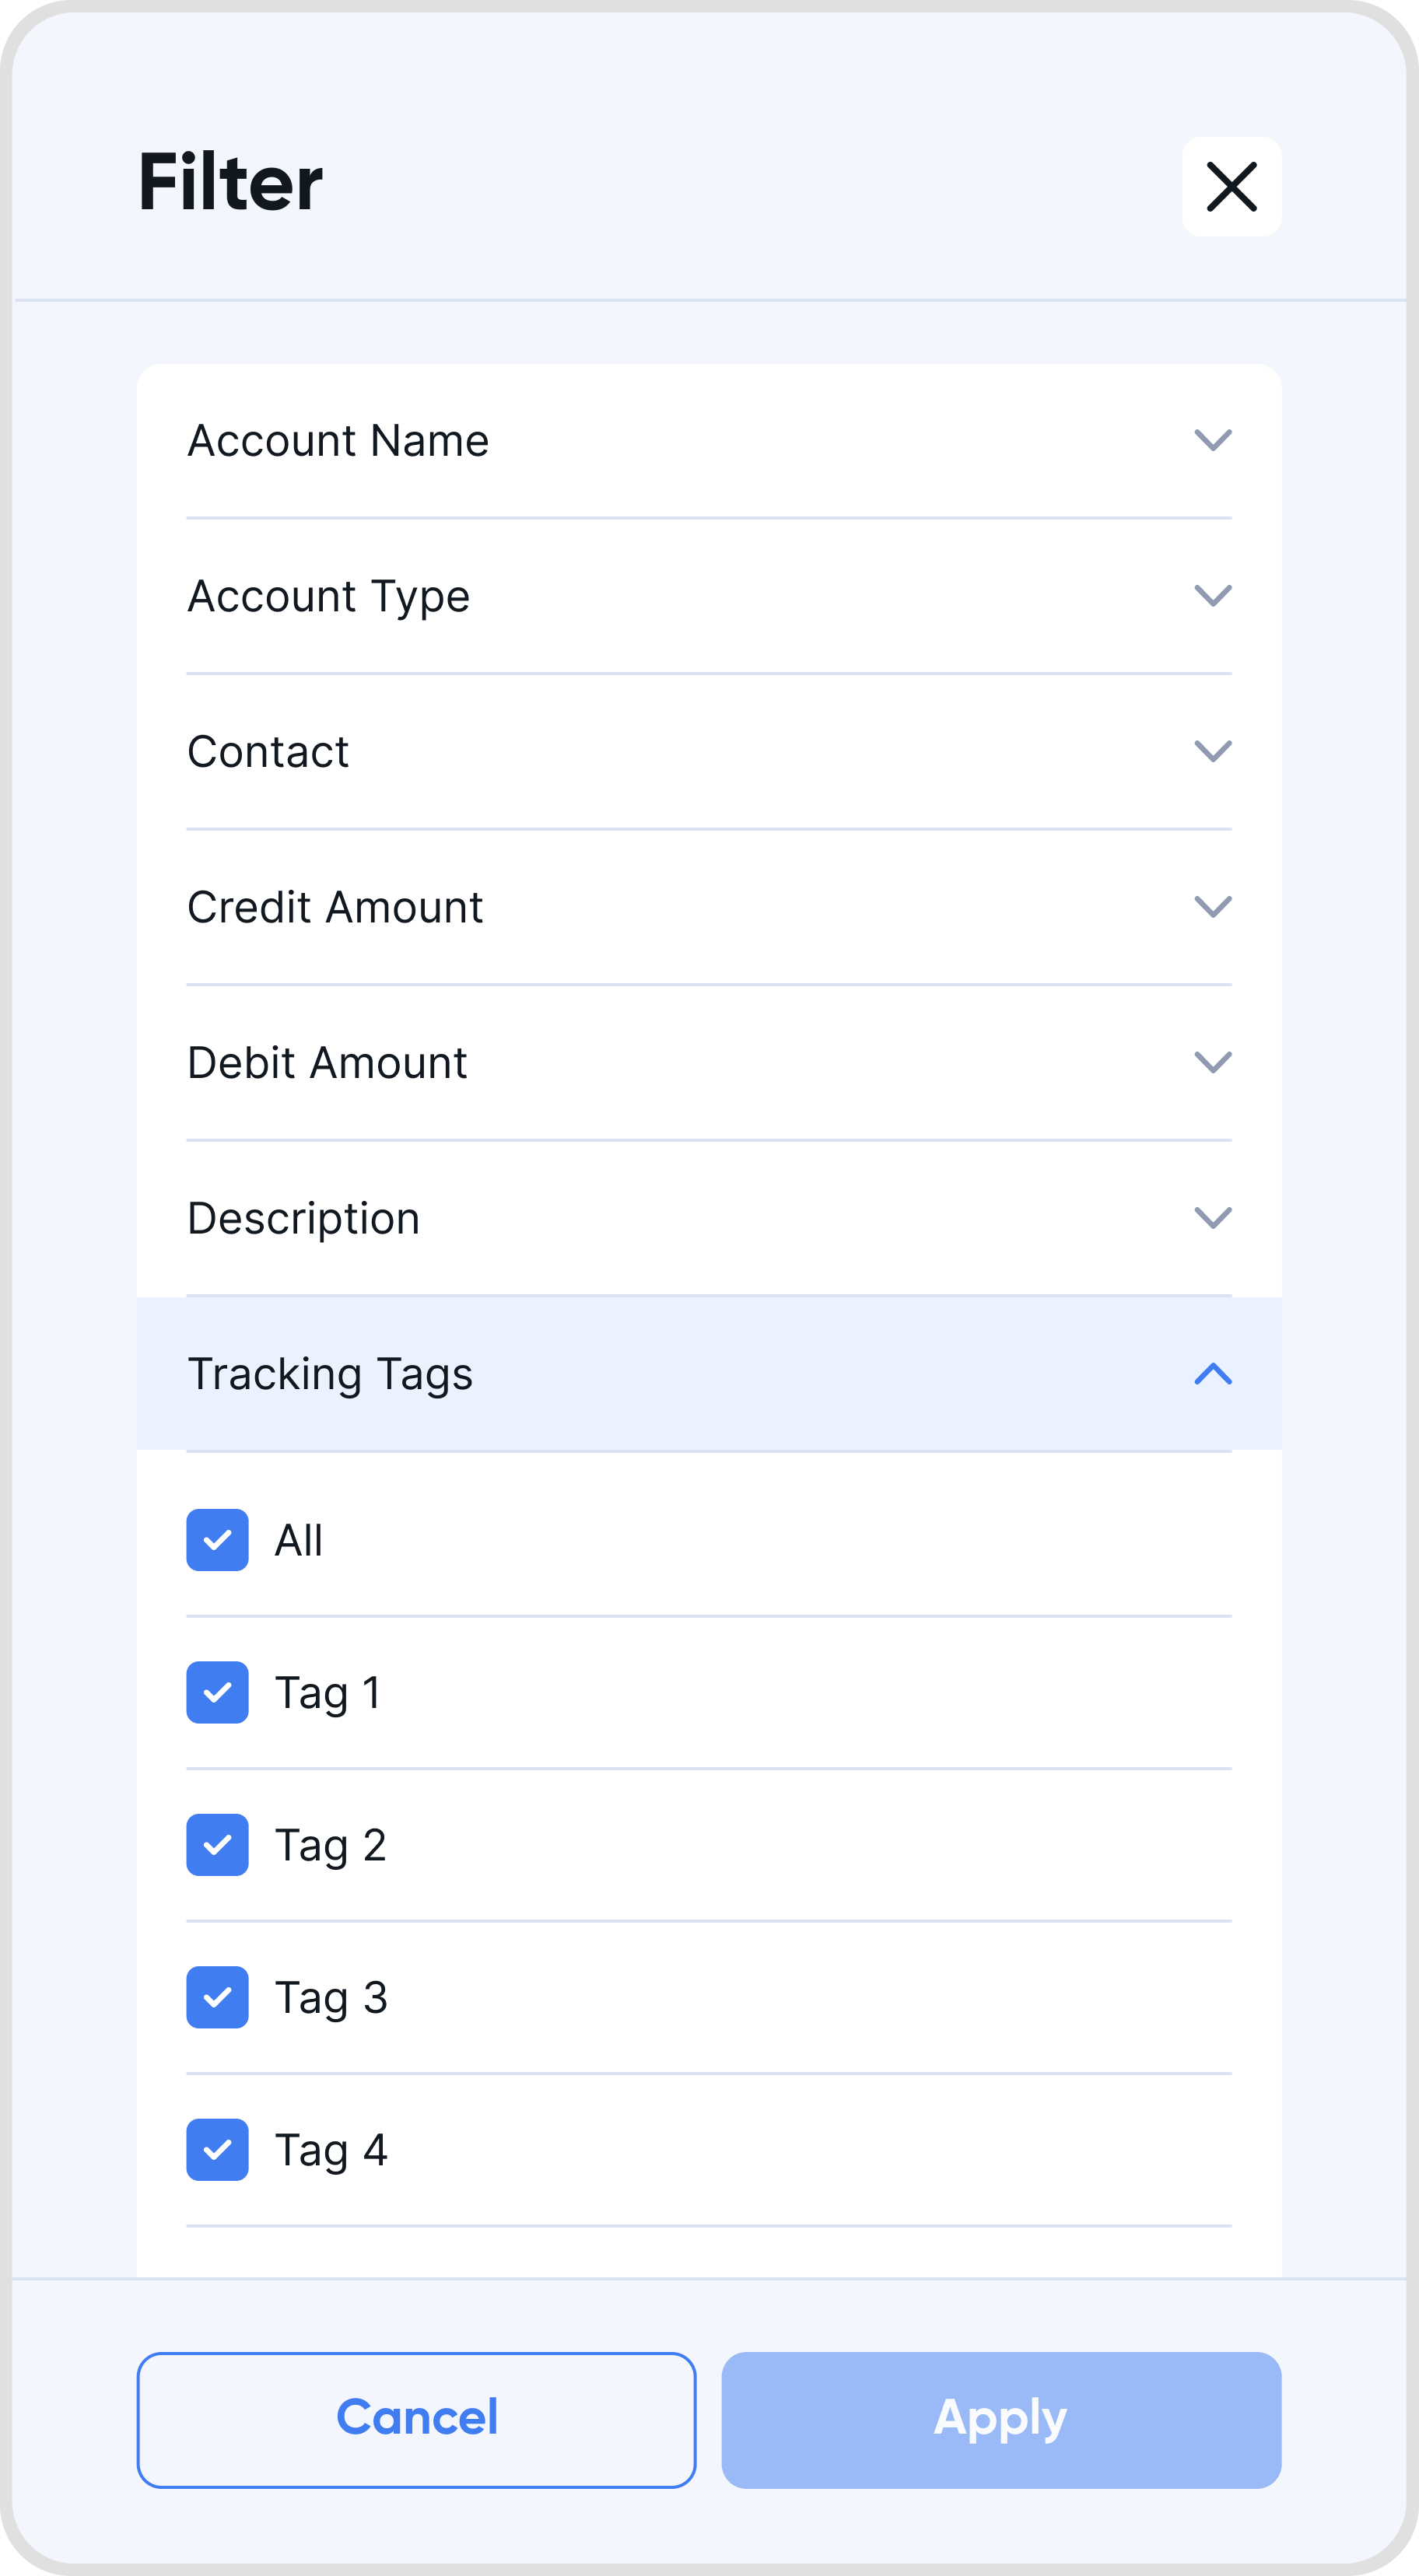
In the General Ledger, you can apply tracking tags as filters: